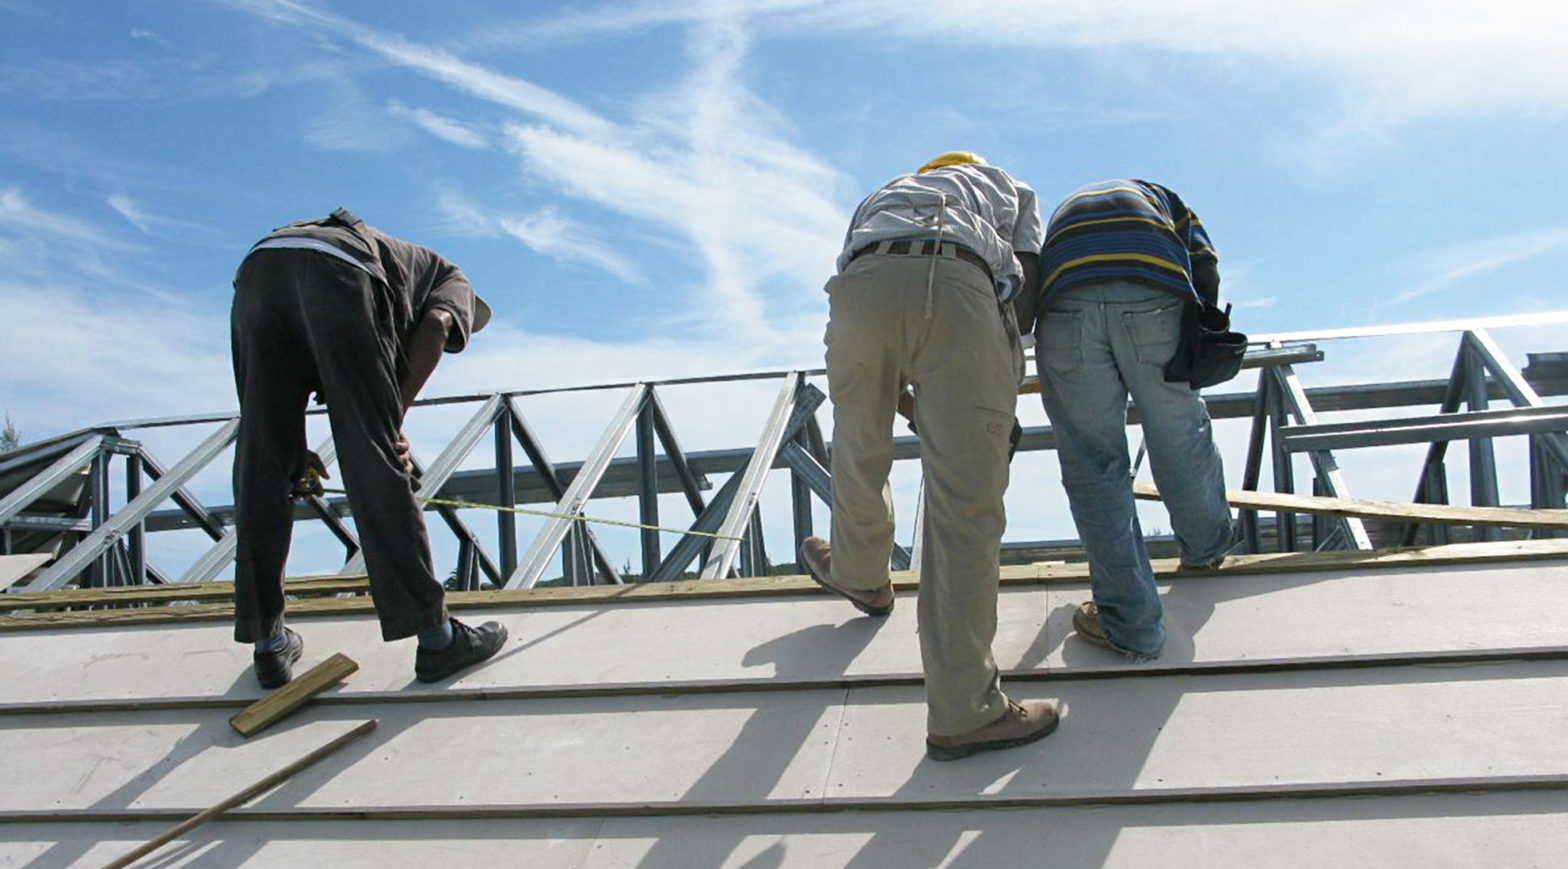
Installation Instructions for The Island Style Roof
![](https://lpi.yms.mybluehost.me/website_a78c75c2/wp-content/uploads/2019/02/Installing-Base-Fabric-on-Boards-consruction-800-.jpg)
![](https://lpi.yms.mybluehost.me/website_a78c75c2/wp-content/uploads/2019/02/ISR-Sample-Edge-Profile-construction-800-2.jpg)
![](https://lpi.yms.mybluehost.me/website_a78c75c2/wp-content/uploads/2019/02/ISR-Sample-Embedding-Fabric-construction-800-1.jpg)
![](https://lpi.yms.mybluehost.me/website_a78c75c2/wp-content/uploads/2019/02/Island-Style-Roof-Drawing-Edge-View-2-800.png)
![](https://lpi.yms.mybluehost.me/website_a78c75c2/wp-content/uploads/2019/02/ISR-Construction-Detail-construction-800.jpg)
![](https://lpi.yms.mybluehost.me/website_a78c75c2/wp-content/uploads/2019/02/ISR-Rake-Detail-construction-800.jpg)
![](https://lpi.yms.mybluehost.me/website_a78c75c2/wp-content/uploads/2019/03/Island-Style-Roof-Drawing-Edge-View.gif)
Materials Needed:
- 1×4 pressure treated boards
- PermaBase® 5/8” Thick 24” x 96”
- 2-1/2” Deck Screws – ACQ treated lumber corrosion resistant coating
- 1-5/8” bugle-head cement board screws
- Two 6-3/8” spacers (cut from 1×4) for positioning 1×4 boards
- Two 20-1/8” spacers (cut from 1×4) for positioning PermaBase®
Tools Required:
- Circular saw with 7-1/4” 24 tooth blade (See photo #1)
- Power screw gun (not hammer drill) with bits to fit fasteners
- Chalk line
- Tape measure
Island Style Roof Installation Instructions